Quick Weather Radar for Hiking: How to Check Radar & Forecasts in Minutes
Looking for a reliable weather radar for hiking before tackling unpredictable mountain trails? Traditional weather apps miss up to 70% of localized mountain storms, leaving hikers exposed to sudden downpours. Our 2-minute GoWeatherRadar guide shows you how to track real-time rain overlays, wind speeds, and cloud loops instantly. Read on to master quick weather checks and stay safe on every trail!
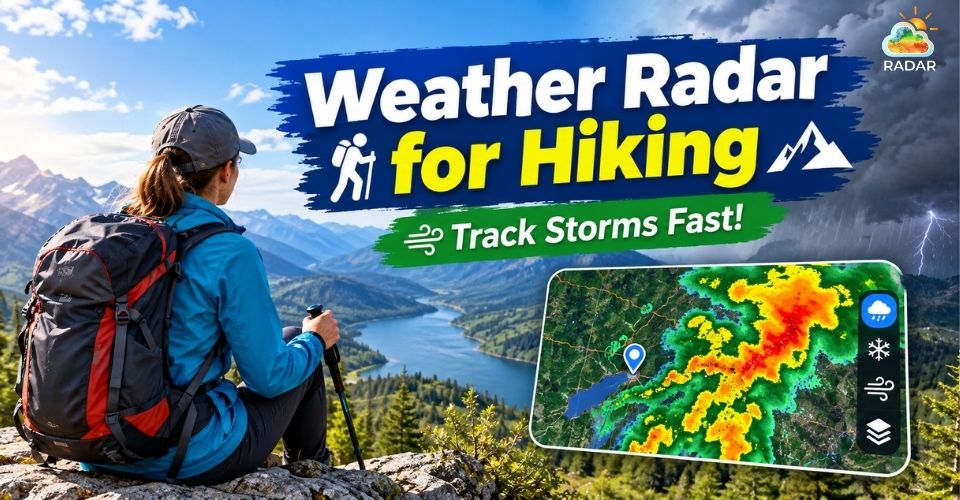
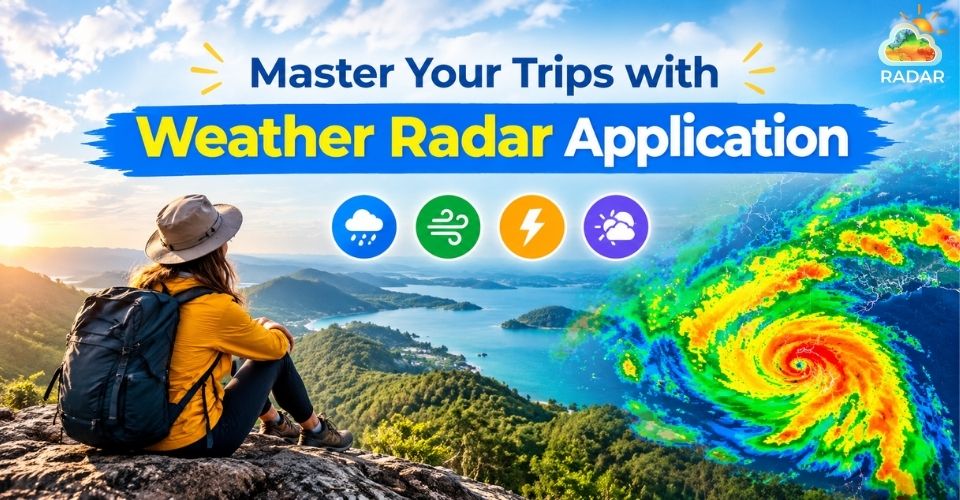
Master the weather radar for hiking
Why Radar Matters
Standard weather apps work great when you are sitting in a city coffee shop, but they often fail miserably the moment you set foot on a mountain trail.
In contrast, a practical weather radar application gives you real-time mountain updates. It tracks cloud movement, rain intensity, and fast-forming storms to keep outdoor lovers safe.
Mountain Micro-Climates
Traditional forecasts rely on low-altitude regional stations miles away.
Mountains create their own weather through a process called orographic lift. As moist air climbs steep slopes, it cools quickly and turns into dense clouds.
This means it can be sunny at the trailhead while a storm brews near the summit - a risk generic city forecasts miss.
Static Forecasts vs. Real-Time Interactive Radar
The fundamental flaw of standard weather apps is that they rely on static daily percentages. Seeing a "40% chance of rain" tells you almost nothing useful for outdoor navigation:
-
Does it mean it will rain for 40% of the day?
-
Does it mean 40% of the entire county will get rain?
-
Is the storm hitting at 8:00 AM or 3:00 PM?
Live Doppler radar replaces static numbers with real-time map data. It shows exactly where rain is, where it's heading, and how fast it's moving.
By watching animated radar loops, you can see whether a storm cell is moving toward your specific ridge or passing safely miles away.
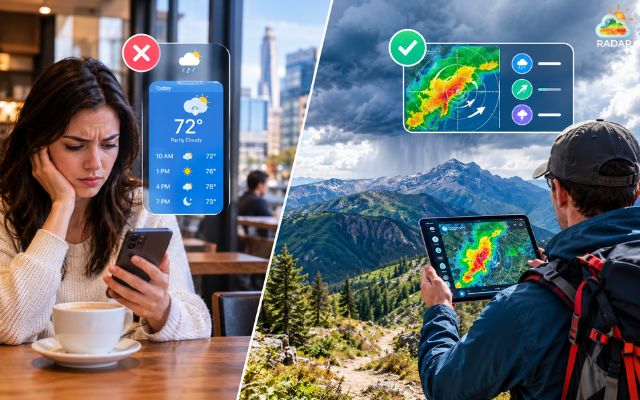
Weather radar gives you real-time mountain updates
2-Minute Guide to Quickly Check Weather Radar for Hiking
Checking the weather before hitting the trail should be fast, accurate, and routine.
Here is how to perform a quick 2-minute weather sweep using GoWeatherRadar right at the trailhead.
Step 1: Access GoWeatherRadar Map & Pin Your Trailhead
Open your mobile browser and head directly to GoWeatherRadar.
Use the search bar or tap the location pin to zoom directly into your specific trail or peak.
Always zoom in close enough to see the surrounding topography rather than looking at a high-level state map.
Step 2: Check the Rain & Snow Layer
By default, the map displays live precipitation overlays.
-
Look for colored clouds around your path.
-
Observe the motion: Is the storm system expanding? Is it tracking directly along your trail direction over the next 1–2 hours?
Pro Tip: Look at the color intensity of the cloud layers to judge storm severity before you begin your ascent.
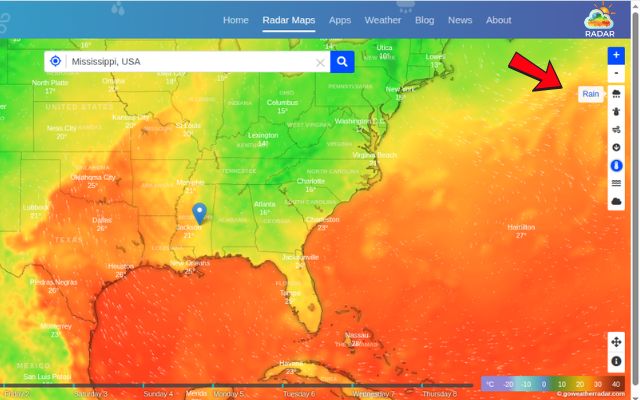
Check the rain & snow layer to judge storm severity
How to Read Radar Map Colors & Layers
-
Green / Light Blue Layers: Light rain, drizzle, or light snow. Safe to hike if you have basic waterproof outer layers.
-
Yellow / Orange Layers: Moderate to heavy precipitation. Trail conditions will become muddy and slick; visibility will drop.
-
Red / Purple / Magenta Layers: Severe thunderstorms, torrential downpours, or hail.
This is an immediate turnaround signal - do not push toward exposed summits or slot canyons.
Step 3: Switch to Wind & Pressure Layers for Ridge Safety
Rain is only half the battle on a mountain. Tap the layer menu on the right side of the GoWeatherRadar map interface to check two additional critical parameters:
-
Wind Layer: Switch to the wind overlay to check wind speed and directional arrows. Tracking real-time wind patterns is crucial on high mountain ridges. It's also vital if you need a reliable weather radar for boating on alpine lakes.
-
Pressure & Clouds: Switch to the cloud and atmospheric pressure layers. A fast drop in air pressure and thickening clouds signal an approaching cold front or severe mountain storm.
Step 4: Screenshot Your Map Route Before Entering Dead Zones
Doppler radar maps require an active internet connection to download real-time radar data. Mountain trails frequently pass through dead zones with zero cell service.
Before stepping away from the trailhead, capture a few quick screenshots of:
-
The current precipitation radar map.
-
The 2-hour forecast loop trend.
-
The wind velocity map.
Saving these images to your phone gallery gives you an offline reference. You can easily compare them against real sky conditions as you hike.
GoWeatherRadar- Top Choice for Hiking
GoWeatherRadar stands out for outdoor travelers. It packs complex weather data into a simple, mobile-friendly interface.
Here is what makes GoWeatherRadar the top choice for outdoor adventurers:
-
Clear, Easy-To-Use Maps: The map runs very smoothly. You can easily pinch and zoom to find exact trails, mountain peaks, or campsites.
-
Track Everything in One Place: Quickly switch between six key layers: Rain & Snow, Temperature, Wind, Cloud Cover, Air Pressure, and Humidity.
-
See Where Storms Are Heading: The short video loop shows where rain came from and where it is going next. This helps you know exactly when rain will reach your trail.
-
Accurate in Deep Backcountry: Powered by top global weather models, the map gives reliable forecasts even in remote areas without local weather stations.
-
Easy-To-Change Units: Quickly switch between metric and imperial units (°C/°F, km/h/mph). This makes reading numbers fast and simple while walking.
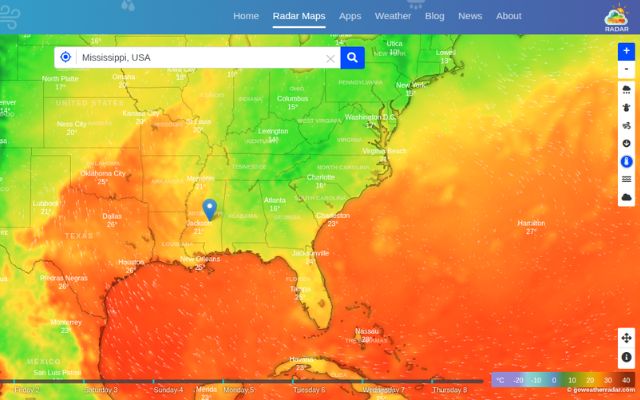
GoWeatherRadar is one of the top choice for hikers
Essential safety tips when unexpected weather hits the trail
Mountain weather can change rapidly once you enter the backcountry. If dark clouds gather or pressure drops, follow these core safety rules:
-
The 30/30 Lightning Rule: If thunder follows a lightning flash within 30 seconds, the storm is under 6 miles away - seek shelter immediately. Wait at least 30 minutes after the last rumble before moving.
-
Set a Hard Turnback Time: Don't let "summit fever" put you in danger. If radar screens showed rain arriving by 2:00 PM, commit to turning back by 1:00 PM - no matter how close you are to the peak.
-
Avoid High-Risk Zones: Descend immediately from exposed ridges and peaks. Avoid isolated tall trees or metal structures, and stand in dense, lower brush instead. If pitching a tent, use a weather radar for camping map to avoid flood-prone hollows.
-
Master Fast Layering: Keep waterproof shells and warm layers at the top of your pack. Cold winds combined with wet clothes can trigger hypothermia in minutes, even in summer.
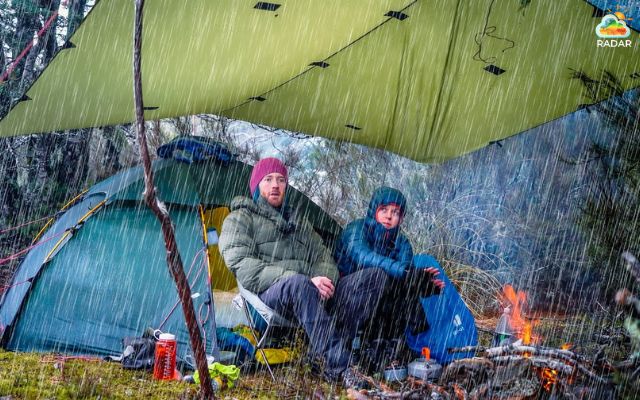
Seek safe shelter when red rain layers or lightning appear on your weather radar map
Sum up
Using a weather radar for hiking is the best way to stay safe in the mountains. By spending just two minutes on GoWeatherRadar before heading out, you can spot rain early, check wind speeds, and avoid sudden storms. Make live radar checks a quick habit before every hike so you can explore with confidence!


0 Comments
Leave a Comment
Your email address will not be published. Required fields are marked *